
I receive commissions for purchases made through links in this post.
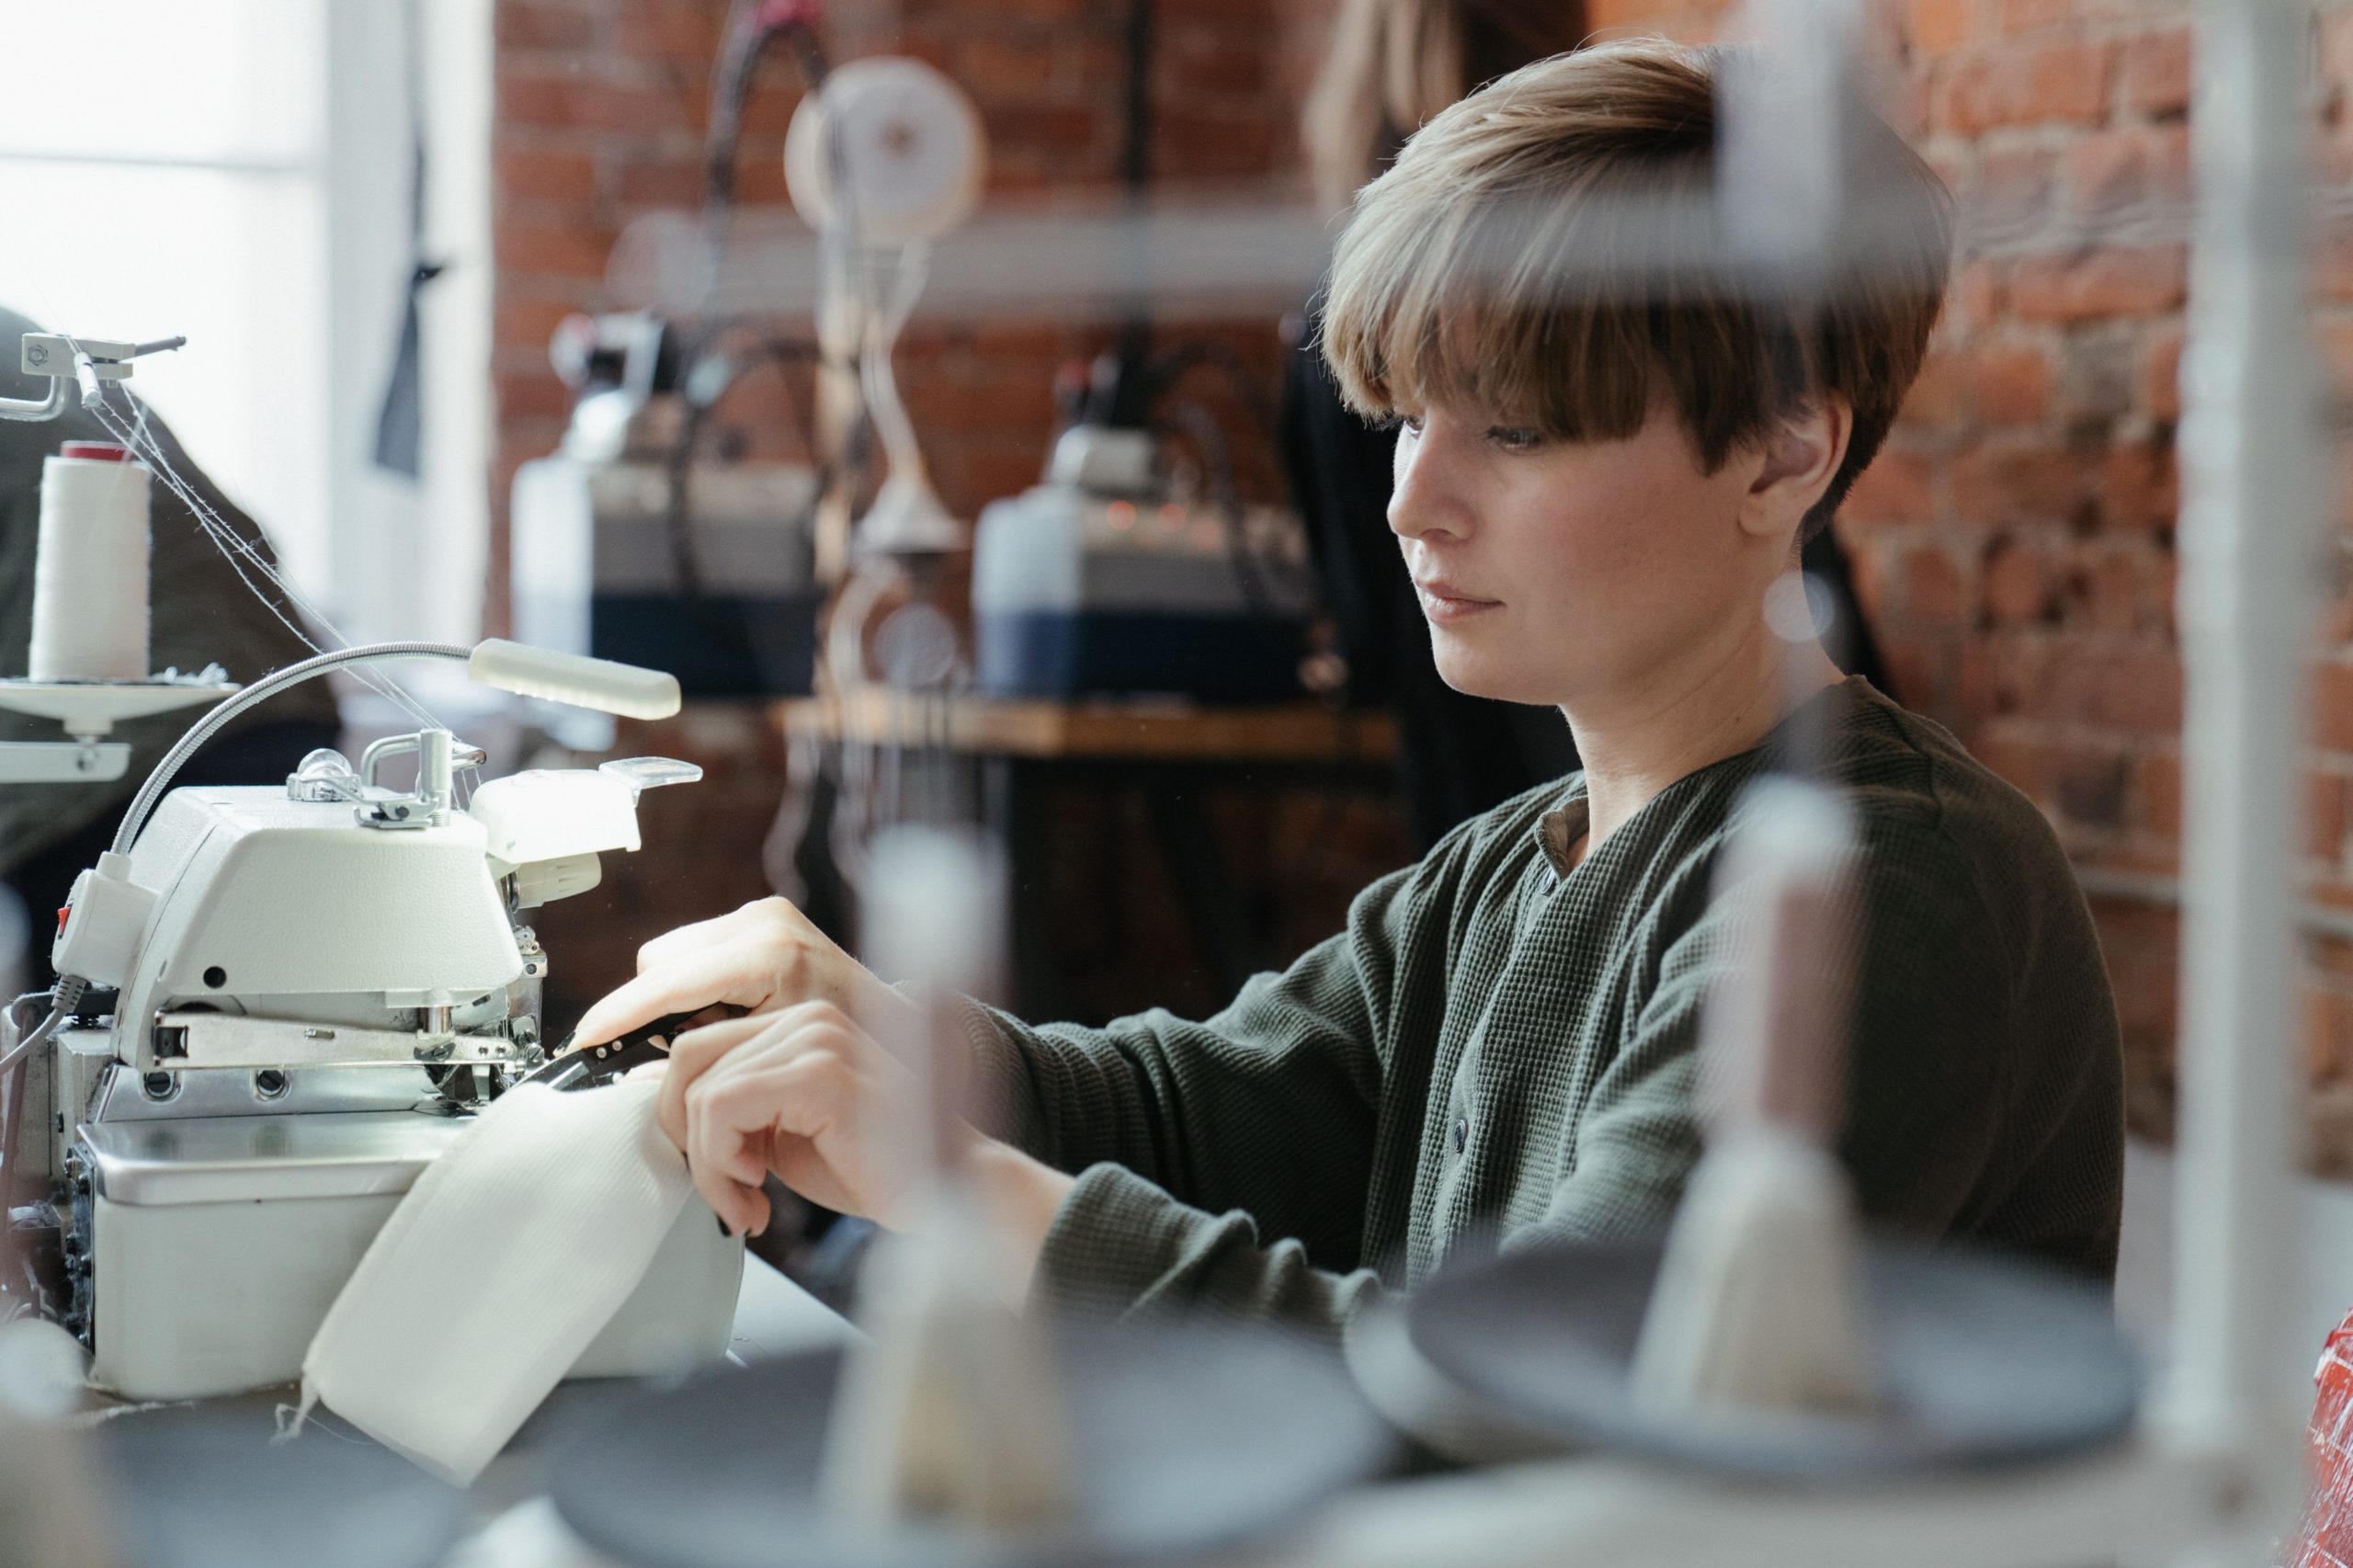
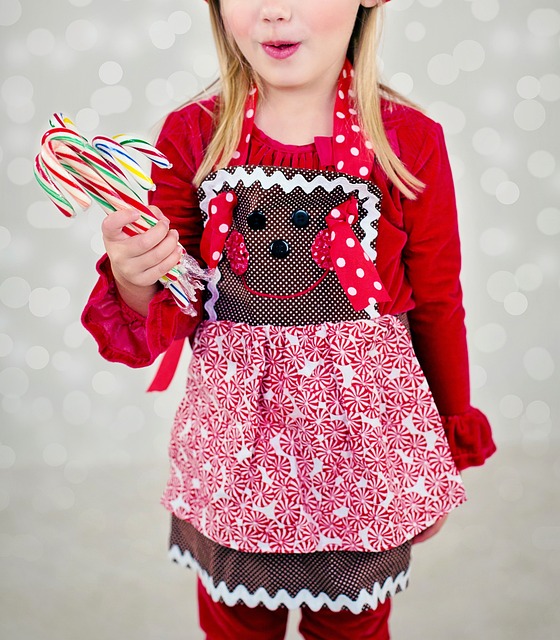
A Seamstress is what you call a person who sews.
Therefore; if you start sewing, you will be a seamstress.
One of the most famous seamstresses in history was Betsy Ross.
Mrs. Ross was asked to make the American Flag by General and Commander in Chief George Washington at church in June 1776.
The flag had been designed by Francis Hopkinson and sewn by the seamstress, Betsy Ross for the American People.
Wouldn’t that be an amazing honor to be asked to sew the first flag of the United States of America?
What are the basic skills to begin sewing?
There are 8 basic skills to begin sewing:The first skill is to learn the terminology or sewing language that surrounds seamstresses.
The second skill is to choose your thread usually made of cotton.
The third skill is to learn to thread a needle which is harder than it looks; but, there are a few secret tools to help!
The fourth skill is to tie a knot at the end of your threaded needle by rolling your finger at the end of the thread.
The fifth skill is now that you have threaded your needle, sew a button on your blouse or shirt.
The sixth skill is to sew in a straight line at the edge of your material.
The seventh skill is to learn to read a Simplicity pattern.
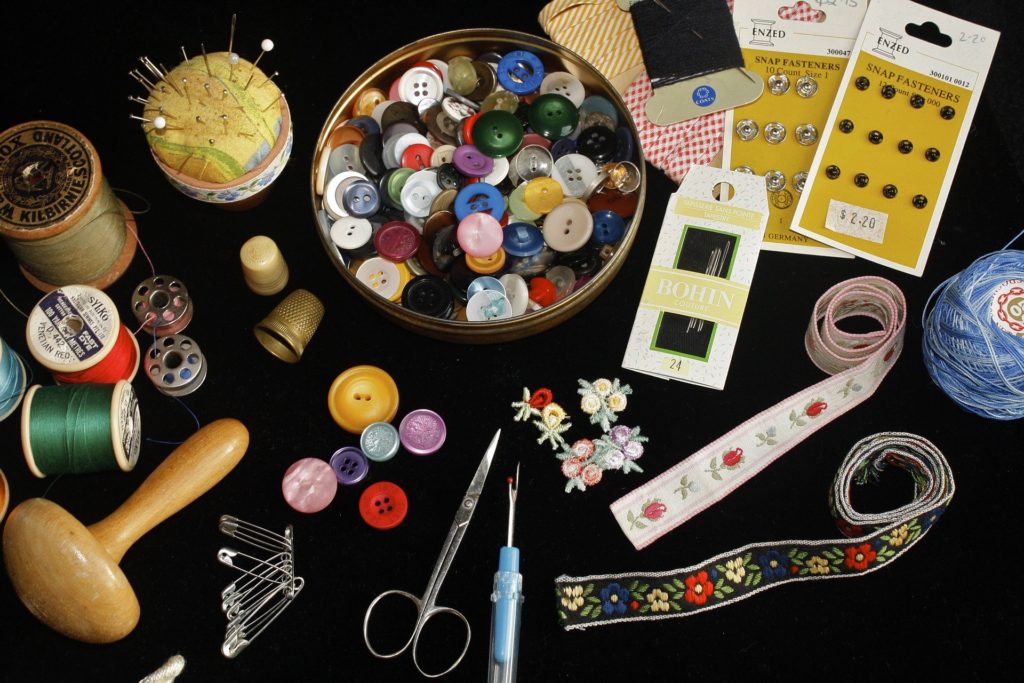
The eighth skill is to acquire the correct sewing tools.
The best age to start teaching sewing…
The best age to start teaching sewing is as soon as the child shows an interest which can be as early as 5 years old.
This is particularly a great time to teach the 8 basic skills and start a foundation of how to sew in their little minds.
If you think about it, you purchase sewing cards for children at approximately 3 to 4 years of age and they learn to thread string through the holes and imitate sewing.
Teaching a 5 year old to mend a hole in a stuffed animal or sew a button on is not that different; and, so rewarding to see them light up and learn quickly.
The seventh skill of reading a Simplicity pattern may be more appropriate for a 7 to 8 year old because they can actually read instructions and more easily follow the directions when sewing.
I used to hand sew doll pillows when I was 5 years old with leftover yardage from my mother’s projects.
Simple projects like this can be fun and entertaining and develop skills of self-reliance and independent play.
The word sew means…

The word sew means to stitch together.
We sew seeds of kindness with other people and we sew fabric that gives us a sense of accomplishment and often nice gifts for friends and family.
You can also sew actual seeds in the ground for a garden which you can find more information on if you are interested in gardening.
A good first sewing project…
A good first sewing project is an apron.
An apron has approximately 7 pieces to sew together.
You have the strap around your neck.
The square for the breast piece.
Three rectangles sewn together for the skirt.
And then the ties for the back of the apron.
The apron project will teach sewing in a straight line, sewing and turning material on the neck strap and ties and matching and finishing edges on the skirt and square breast piece.
If you want to be a little more complex on this project you could always make the apron reversible with contrasting fabrics and have a two-for-one apron.
The skill you need most for sewing…
The skill you need most for sewing is patience and persistence.
Sewing can be very relaxing when everything is going as it should; but, if you accidentally sew two pieces of material together that you did not intend to, you will have to rip that portion out.
And that can be frustrating.
Just realize that everyone makes mistakes and sewing is meant to be fun and relaxing.
So just sew with a very lax sense of perfection and keep the sewing fun!
Actually ripping out stitches can alleviate anxiety and be a bit cathartic.
Can you teach yourself to sew?
In today’s world you certainly can teach yourself to sew via YouTube but it is even more fun to sew with a friend or family member.
A good 4H group would provide you with some instruction and projects to learn how to sew.
Additionally, I hope you will receive some skills from this blog to help in that area.
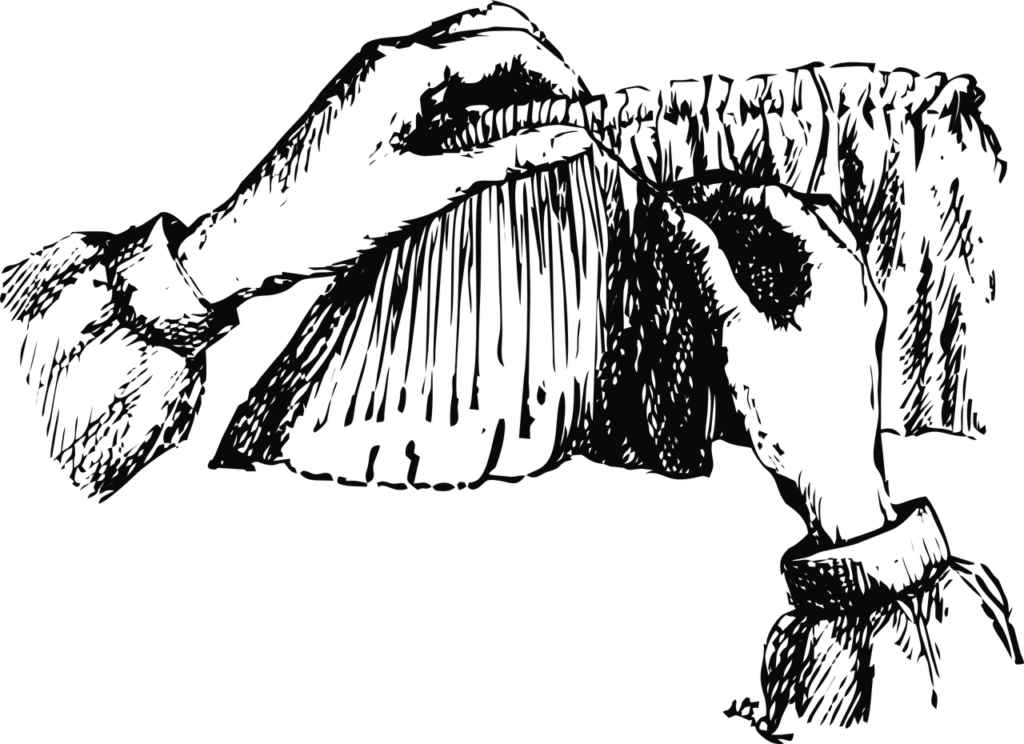
Teaching a child to sew on a button
The way you teach a child to sew on a button is SewSewSimple!
First thread a needle with the color of thread you want to show on your outfit.
Use double thread (place thread through needle and pull the length until you have approximately 24 inches of thread folded in half between the eye of the needle.)
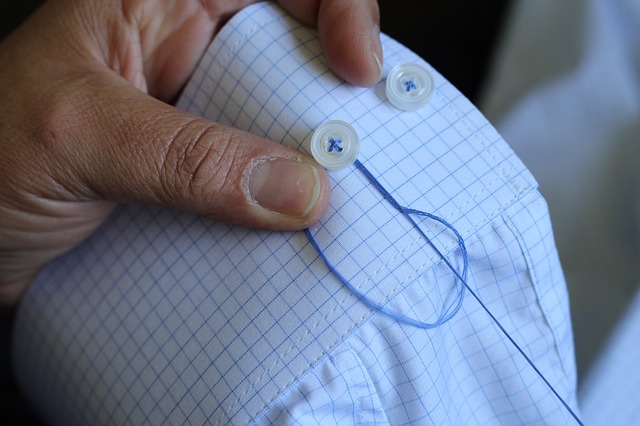
Tie a knot in the end of the thread.
You may want to use a thimble for pushing the needle through the material as some fabrics are thicker than others. Place the thimble on the middle finger of the hand you hold the needle. When you push the needle through material use your middle finger with the thimble on it to push it through.
Start sewing the button on by making sure the buttonhole matches where you will begin sewing on the button.
Begin by taking the needle in your sewing hand and take a stitch on the back side of the garment.
Run the needle through one buttonhole while holding the button in place with your other hand. Once you have pulled the needle and all the string completely through the material, and the knot has stopped the thread from coming through the material, put the needle down through the opposite buttonhole of a 2 buttonhole button and also through the material.
Pull the needle tight with your thread now being fully on the back side of the shirt and the button secure now on the right side.
Make 10 stitches just like this through the same hole in the button.
Each time you reach the back side of the garment take a small stitch and when pulling it tight make a figure 8 with the thread and put the needle through the loop in the thread before you completely pull it tight. (This will place a knot in the buttonhole stitches that will keep the button from coming off if just one thread breaks.)
Continue the same process with the opposite buttonholes 10 times if you have a 4 hole button. (This will make an X with the thread on the top of your button.) (On a 2 hole button the stitch on top will look like a straight line depending on the angle you sewed the button on like this: I.)
When you finish on the back side with your last stitch and make the figure 8 knot; you are ready to cut the thread. Your button is now securely sewn on to your garment and you can move to the next button; but, you may need to reload your needle with thread.
Please if you have any comments or questions, leave your responses in the comments field.
Remember any highlighted words are monetized links and should you click on them, I may receive compensation.