
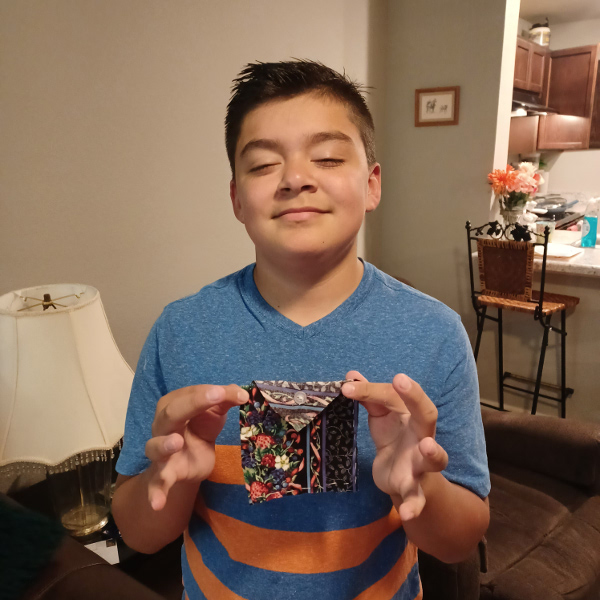
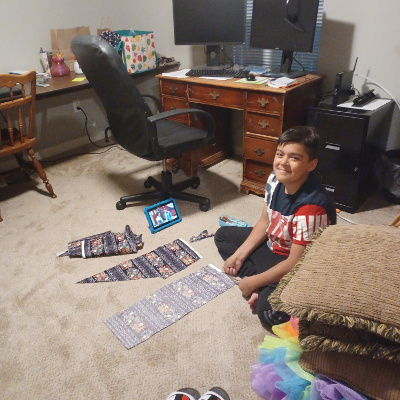
My grandson, looking for something to keep busy came up with this pattern a creation on his own last weekend. Quick and easy to make.
Items needed:
Scrap material
Sewing scissors
Sewing needle
Thread
Small button
How to cut it out:
- Cute 2 squares approximately 3″ square
- Cut one triangle half the size of the square on the diagonal
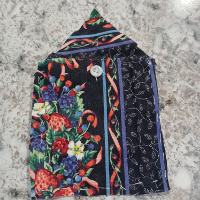
Putting together the pouch:
- Sew by hand or machine 3 sides of the square with one right side one wrong side together
- On the open end on the back side sew the triangle to the square at the opening leaving the mouth of the pouch open
- Sew the triangle on so the wrong side shows when folded over the right side of the pouch.
- In the triangle lid place a small slit big enough for the button to fit through.
- Hand Sew the button on the front piece of the pouch. (Make sure u keep the pouch so it will open and you can put something in it.
- Fold the triangle over and button the triangle lid down.

You are finished with the pouch.
Remember this site is monetized and if you click on a highlighted link I might receive a commission.
If you have any questions or suggestions, please fill out the contact form and let me know. I will respond asap.