
Sewing your own clothing is not only rewarding—it allows you to create something completely unique. One fun and stylish project is transforming classic red, white, and blue bandannas into a cute, casual women’s shirt with cap sleeves. This project is beginner-friendly but still gives you a polished, boutique-style result.
Materials You’ll Need
- 4–6 red, white, and blue bandannas (standard ~22” x 22”)
- Matching thread (white or neutral works best)
- Sewing machine (or hand-sewing needle)
- Fabric scissors or rotary cutter
- Straight pins or clips
- Measuring tape
- Tailor’s chalk or fabric marker
- Iron and ironing board
- Optional: lightweight fusible interfacing (for neckline stability)
- Optional: paper for making a pattern
Step 1: Plan Your Layout
Decide how you want the colors arranged. You can:
- Alternate red, white, and blue panels
- Create a patchwork look
- Use one color for the front and another for the back
Lay the bandannas flat and experiment with placement before cutting.
Step 2: Create a Simple Pattern
You can use a loose-fitting T-shirt you already own as a guide:
- Fold the shirt in half.
- Trace around it onto paper or directly onto your bandannas.
- Adjust for:
- Slightly shorter sleeves (for cap sleeves)
- A relaxed, slightly boxy fit
- Slightly shorter sleeves (for cap sleeves)
Cut out:
- 1 front piece (on fold if possible)
- 1 back piece
- 2 small cap sleeve pieces
Step 3: Cut the Fabric
- Pin your pattern pieces to the bandannas
- Cut carefully, keeping edges smooth
- If combining bandannas, sew them together first to create larger panels, then cut your pattern pieces
Press all pieces with an iron before sewing.
Step 4: Sew the Shoulder Seams
- Place front and back pieces right sides together
- Sew along the shoulder seams
- Press seams open for a clean finish
Step 5: Attach Cap Sleeves
- Match the center of each sleeve to the shoulder seam
- Pin outward toward each side
- Sew sleeves in place
- Keep the curve smooth—go slowly here
Step 6: Sew Side Seams
- Fold the shirt right sides together
- Sew from the sleeve edge down to the hem on both sides
- Press seams open or to one side
Step 7: Finish the Neckline
- Fold the neckline edge inward about ¼”–½”
- Press and sew around
- Optional: add interfacing before folding for extra structure
Step 8: Hem the Sleeves and Bottom
- Fold edges inward twice (¼” each fold)
- Press and stitch
- This gives a clean, professional look
Step 9: Final Press and Touches
Give the entire shirt a final press. Trim loose threads and check seams. At this point, your shirt is ready to wear!
Tips for a Better Finish
- Use cotton bandannas for easier sewing
- Pre-wash fabric to prevent shrinking
- Mix patterns thoughtfully so it looks intentional
- Add a slight curve to the hem for a more feminine fit
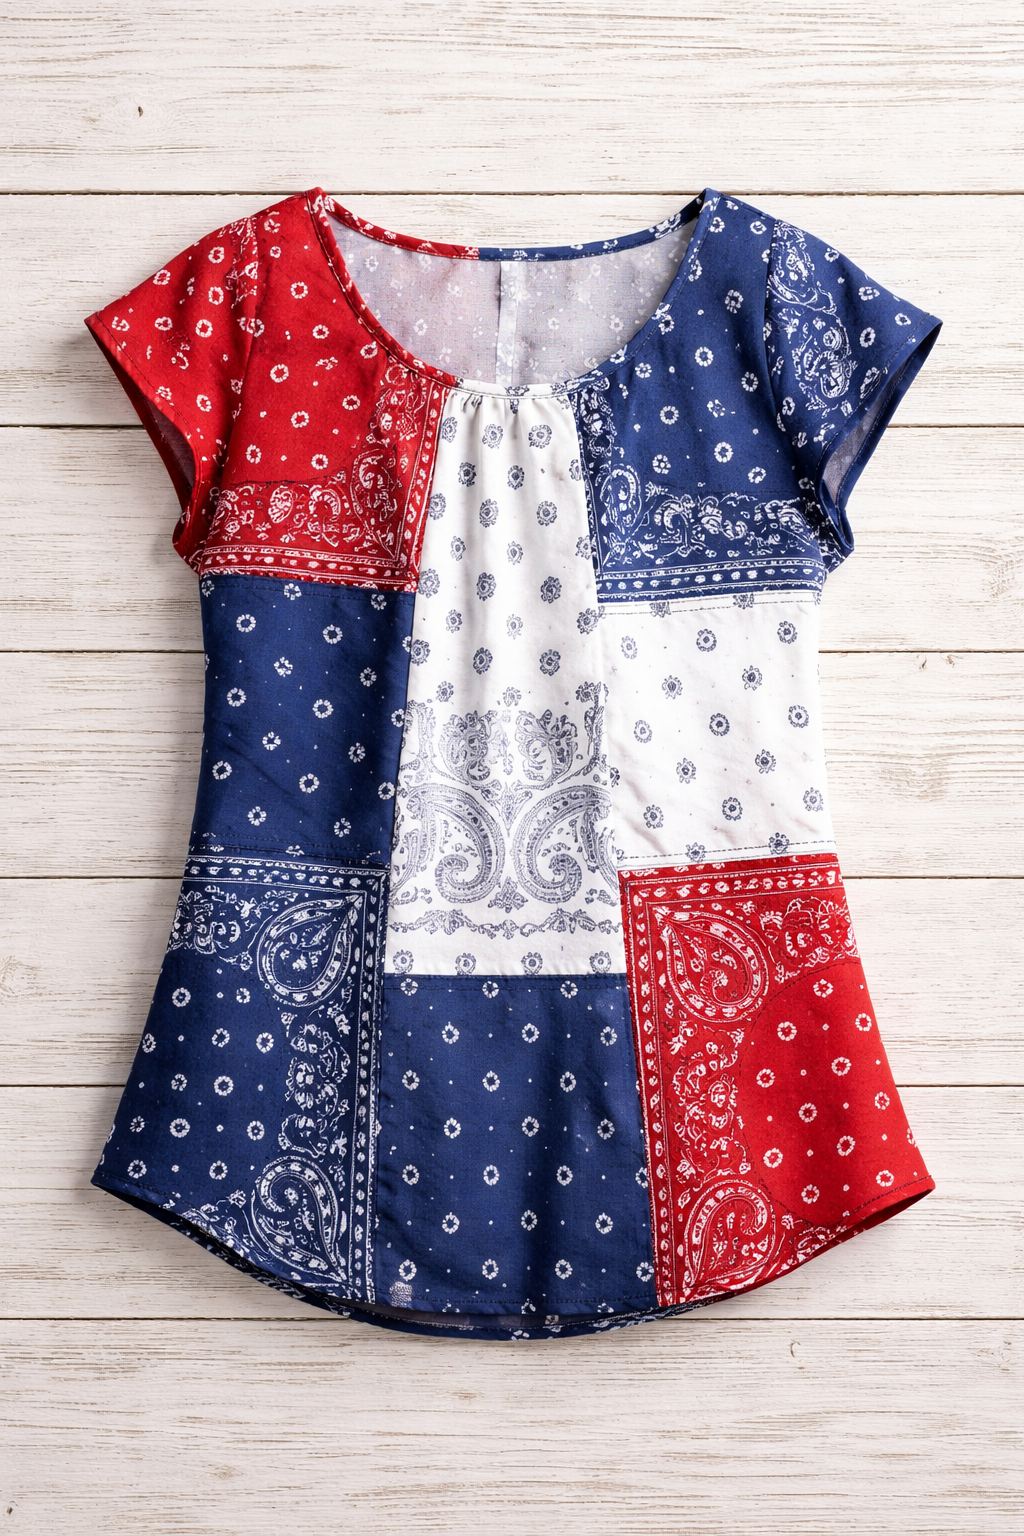
Finished Look
This adorable bandanna shirt is perfect for summer outings, holidays like the Fourth of July, or just adding a pop of color to your wardrobe. It’s lightweight, breathable, and completely one-of-a-kind—because you made it yourself!
Thank you for reading my articles. As always the highlighted words have links and they may be monetized and I may get compensation if you click them.