
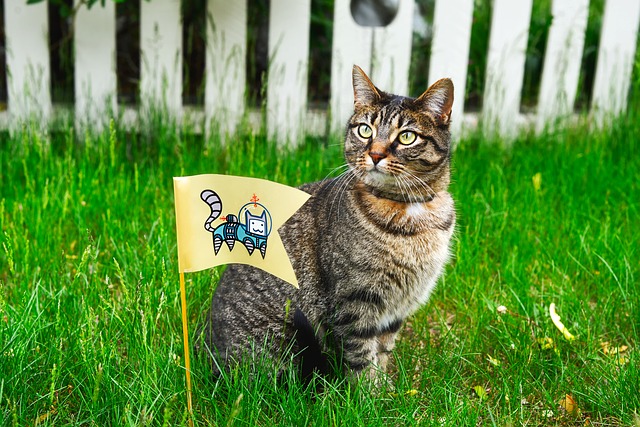
How to sew a yard flag from scratch. You have seen them flying in the breeze in peoples yards. Now you can design and fly your own. You pick the colors and design. Make it a display of your personality.
Items you need:
- Fabric (18” x 12”)
- Scrap contrasting fabric
- Sewing machine
- Thread
- Tape Measure
- Sewing Cord
- Dowel rod 14” long
- Pom poms
Instructions:
- At first measure your fabric with the ruler and cut out a rectangle 18” x 12”
- Then fold the short end of the triangle up just a small ways and cut the angle to make your flag.
- Next fold right side of fabric over wrong side on all sides down ¼” and iron.
- Continue and sew the fold down all the way around the flag.
- Now all your ends are finished.
- In addition at the top of the flag (the 12” side not cut at an angle) fold the right side down over the wrong side again 1” and iron.
- This is making your sleeve for the dowel rod. Stitch along the same line you stitched before only now you are 1” down on the fabric. Therefore you will want to leave an opening on each end.
- Then run the dowel rod through to make sure it will fit and should have 2” on each side.
- Remove the dowel rod while you finish decorating your flag.
- Then with the scrap material cut into shapes you would like to see on your flag.
- Examples: Stars and Strips for 4th of July, Flowers for Spring, Shamrocks for March, Snowman for January…etc.
- Then you are ready to pin your designs on the right side of the flag where you would like them to be.
- In addition you can finish the edges of your designs or leave them frayed it is your choice.
- Using the zig zag stitch on your machine, sew the edges of the design to the flag on the right side with your design on the right side too.
- When you have attached the designs to your flag you are ready to put the dowel rod back in the sleeve.
- Take your string and tie it to one end of the dowel rod and stretch it across to the other side of the dowel rod leaving a little play to hang the yard flag on display.
- You can attach pom poms to the ends of the dowel rod to give one more dimension to your flying flag.
Your yard flag is complete and now you can put it in your yard or display it as you choose.
If you have any questions or comments feel free to fill out our comment form and I will get back with you as soon as possible.
Remember any highlighted links on this page are monetized and I may receive compensation if you click on them.