
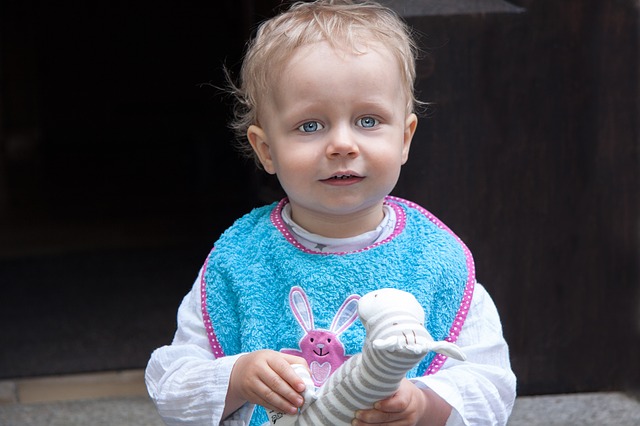
Have you noticed buying a bib at the store the manufacturer must make them for dolls? They are too small to comfortably fit a child. Now you can make a custom fit bib in a breeze. Just follow these steps and you will have that personalized bib in no time.
Items you need:
1. Tape Measure
2. Butcher Block Paper
3. Pencil
4. Scissors
5. Terry cloth fabric
6. Biased tape
7. Sewing machine
Making the pattern:
1. Measure the babies neck with the tape measure.
2. Add one inch to the measurement.
3. Draw the neck measurement on the butcher block paper
4. Now draw the shape and length of the Bib you want.
5. Cut out your pattern leaving length on the back of the neck for adjusting the neck size as the baby grows.
6. Pin the pattern to the Terry cloth fabric.
7. Cut out the pattern.
Sewing the bib:
1. Start at the bottom of the bib and sew the biased tape to the edge of bib all the way around til the biased tape meets at the bottom.
2. Now fold the biased tape over the edge to finish it and top stitch around the edge of entire bib ending at the bottom.
3. Then you can place appliqués on the bib if you like.
4. Sew the appliqués on.
You are finished! The bib is complete and will fit perfectly to keep that special outfit clean. It is a great gift idea for baby showers too!
If you have questions or comments please leave them on our comments page. We will respond asap.
Remember the highlighted links on this page are monetized and I may receive a commission if you click on them.