
This is the list of what you need to make fabric decorated stationery and then followed with instructions.
List of Things Needed:
- Note Cards (pastels are nice) (size 5” x 2 ¾”)
- Glue Stick
- Fabric Scraps
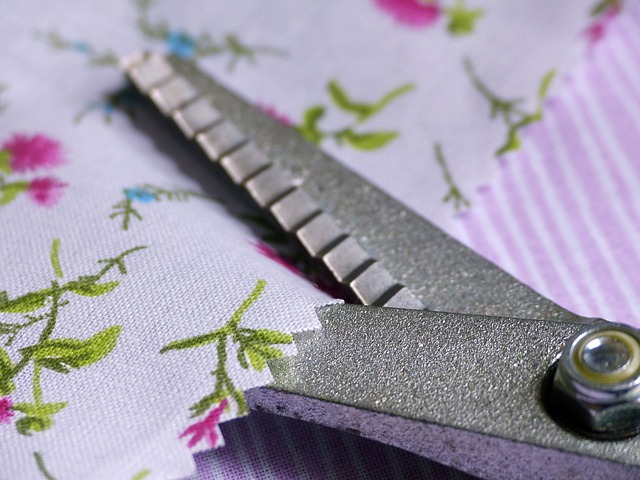
- Pinking Shears
Begin with the above list, start making the decorated stationery.
Your imagination can be your best friend.
Stencils can be used if you need them for shapes or just cut abstract sizes.
Instructions:
The first one is a heart.
Now Measure your note card and cut the fabric so it fits nicely in the center of the card.
Cut out your heart with the pinking shears to give it a cute edge.
Take your glue stick and paint the card with the glue where you want to place the heart.
Stick the heart to the card and make sure you have the edges tact down. Let the glue dry.
Continue making more cards with another card decorated with random shapes cut with the pinking shears and placed all over the note card to cover.
Be sure and take the shapes just to the edge or leave a postcard border.
Finally finished place the fabric on the lined side (if you prefer to write on a clean slate) or place the fabric designs on the plain side so you have a lined card to write your message.
The end results is a decorative fabric note card that you can write your personal message to a dear friend or loved one.
The postcard will fit in a #10 envelope with no problem or you can see if it will fit in the smaller envelope size (6 ¼” x 3 ½”) depending on how bulky your fabric or how many cards you send in one envelope.
If you have any questions or ideas, please leave a comment for me and I will get back with you ASAP.
As always this page has highlighted links that will give you ideas on what you can buy for this project. The highlighted links are monetized and I may receive a commission if you click on them.