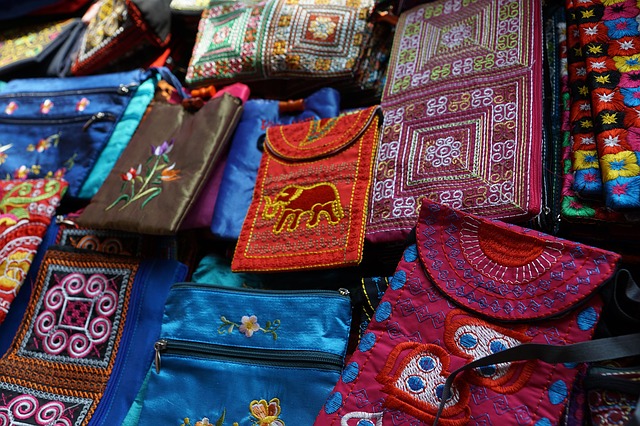
When sewing a small purse we begin with looking at an example of other purses. You really do not need to make a pattern as long as you measure and keep your lines even. The only pattern part you may want is the curve of the closure flap to keep it perfectly semi-round.

For the strap on the purse we are going to use a finished braided twine. This will make it durable and easy to attach to the purse. We will first go over how to braid the twine:
- Take three strips of twine and measure them to be the length you will want around your neck plus the width of the purse to attach. (approximately 47” long)
- Spread the three strands out.
- Take the strand on the right and loop it over the middle strand.
- Depending on how tightly you pull the straps together will decide how your strap will look. Just be consistent with your tightness.
- Now take the left strand and loop it over the middle strand.
- Take the strand on the right and loop it over the middle strand. (you will notice that the strand in the middle keeps changing and that is correct.)
- Continue to alternate the right side to the middle and the left side to the middle until you have braided the entire strand of twine.
- Tie a knot in the end of your strand of twine when complete.
Now to make the purse. You may want to measure your cell phone and make the purse the width of your cell phone laying down and at least the height of your cell phone. Be sure and leave a ⅝’ seam allowance with your measurements.
A typical cell phone case is approximately 6” long so we will make the purse 7” x 9” to accommodate the phone plus a few other things and allow for the ⅝” seams. This will be the size of the base purse but you will need to make two pieces approximately 7” x 11” to make the flap for the front of the purse.
So we will be cutting out two 7” x 11” pieces of material. And two 7” x 9” pieces of material. These pieces can be the same material or different to make the inside of your purse a different color and make the purse reversible.
Take the two 7”x9” pieces of material and with right sides together sew all around the rectangle but leave a two inches unsewn at the bottom of the 7” side.
Turn the 7” x 9” piece right side out through the 2” hole. Decide which side you want on the inside of the purse.
Now take the 7” x 11” piece of material and sew the same way. We are going to make the flap square for ease of sewing. If you would like at this point to make the flap a semi-circle, this is where you would cut the 7” side and round it.
Sew the 7” x 11” pieces with right sides together all around the edge until you reach the 7” straight side and leave a two inch hole to be able to turn the fabric. Turn your fabric right side out.
Now we are going to sew the 7” x 9” fabric set to the 7” x 11” fabric set. Where you left the hole to turn the fabric, fold the seam in and iron is down so that the two inch area will be sewn in the completed purse.
Top stitch the 7” x 9” piece to the 7” x 11” piece placing the braided strand (that has been tied together to make a complete circle) across the 9” spot on the 7” x 11” piece on the inside. When sewing the two pieces together be sure and sew the braided strands to the inside of the purse. Thus forming the handle. Only sew three sides. This will leave the opening for your purse at the top of the 11” flap.
The sewing is finished. You can add a snap if you would like to have a closure. Or make a design on the flap for decoration.
Please feel free to ask questions or respond in the comments section.
As always this page is monetized and if you click on the highlighted links I may receive a commission.
