
I receive commissions for purchases made through highlighted links in this post.
I wanted to sew placemats for Thanksgiving and just thought maybe someone else would like to too.

I decided to make the pattern myself and just put the pieces together with applique and a nice tight zigzag stitch on the edges.
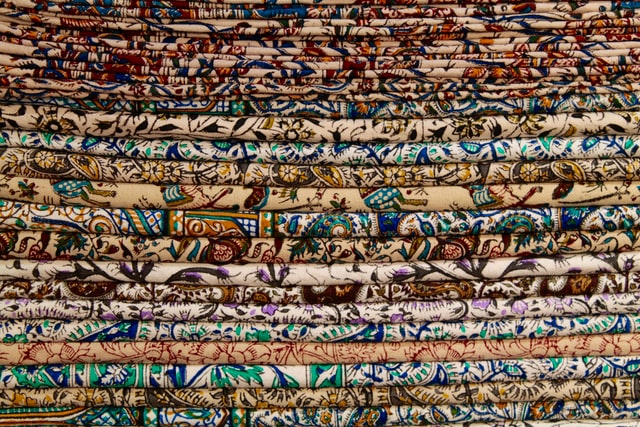
Now you can use whatever fabric you would like. I thought two tone calico’s in orange and browns would fit my decor. I used green calico for the stem.
First decide how big you would like the placemat. I decided I would make mine about two turkey hands wide…(spread your fingers like you are going to draw a finger turkey and have both thumbs touching.)
This required a pattern about 7 ½” long and 4 ½” wide. Then I drew a large potato shape including the dips and repeated that pattern 8 times.
Next take the paper pieces now and fan them out gathering them a little closer at the top til you form a pumpkin. This is how you will layout your material once you have cut out your patterns.
Proportionately, I drew a stem and cut it out making the bottom a little wavy as to fit on the top of the pumpkin.
Next you are now ready to cut out your pieces. Since all pieces are identical, you can easily cut two at a time, if not four. I used four from each calico. And don’t forget to cut the stem out. You will only need one of them.
Then at this point you can decide whether you want this to be reversible with solid material on the back or another pattern. Additionally, you could put a jack o’lantern on the back side and use it from Halloween all the way through Thanksgiving.
Next fan your potato shaped pieces out until it forms a pumpkin and pin your pieces in place. As a result, now you can trace the entire shape of the pumpkin on paper and use that pattern to make your solid material back side or your template to put your jack o’lantern on.
Next I would sew the potato shaped pieces first. For this reason, I would start with an inner seam and work my way out to the ends so to save the edges for last. Finally, when you have the inner seams sewn together you are ready to add the solid material back on.
After that, pin the wrong sides together and decide where you want to leave the opening to turn it right side out. I chose a small slit at the bottom of the pumpkin because it would only take a straight (zigzag) stitch to seam it up and finish it.
Therefore, you are now ready to turn your pumpkin right side out. It may take a little work to get the stem pulled through. And then press the pumpkin flat with an iron. Be sure and iron the slit with the seam inside the pumpkin.
Finally, you are now ready to zigzag the edges. I did mine with orange thread and bobbin so that it would all match. But, be sure you change threads and bobbin to green for the stem.
Just like that you are finished and you have a beautiful pumpkin placemat for your table. All you need to do now is repeat the process for however many place settings you will have.
What you will need to make the pumpkin placemat…
- ¼ yard of orange calico print material if material is 45″ wide
2. ¼ yard of brown calico print material if material is 45″ wide
3. A scrap of green material
4. 1 spool of orange thread
5. 1 spool of green thread
6. Sewing Scissors
7. Pencil
8. Paper
9. Sewing Pins
10. Pin cushion
11. Sewing Seam gauge
12. Thimble
13. Sewing Machine with zigzag stitch
Now you are ready to start the project. And you might even think about sewing for money?
I love your posts and your enthusiasm for your sewing projects. Beginning without a pattern makes me think even I could do this! I would love to see step by step images of your process as I am a visual learner. It would also be helpful to know that a pumpkin is the end goal prior to drawing the potato shape I think. Ha!
Thanks for sharing your fun projects!