
is Coiled Coasters…
I receive commissions for purchases made through highlighted links in this post.
Coiled coasters have few sewing items to gather and can be put together within an hour’s time.
The following items are what you will need to begin this coiled coaster sewing project:
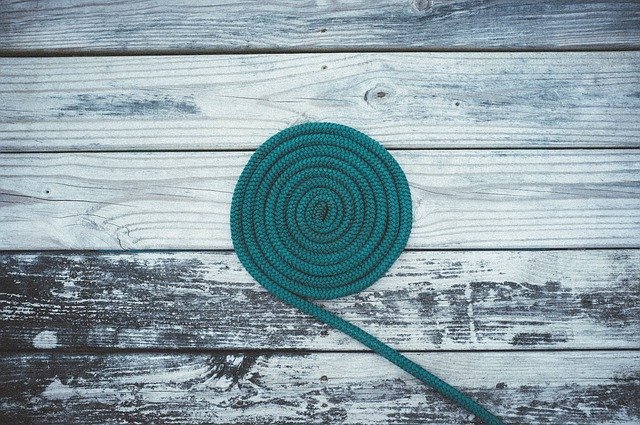
- A package of Cotton Clothesline Cord
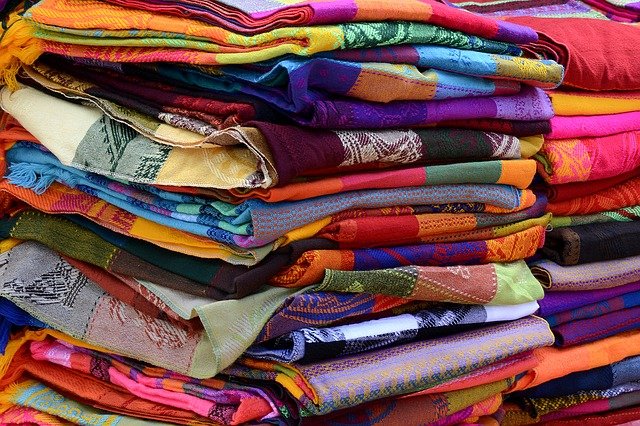
- Material Scraps cut into ½” crosswise strips
- Glue stick to glue the material to the tip of the clothesline cord
- Open toe foot for your sewing machine (this is optional but makes it easier to see your stitches as you will be zig zagging)
- Variegated thread (that matches or contrasts your material)
- Size 90 sharp sewing machine needle
Beginning the project:
First you take the end of the cotton clothesline cord and hold it in one hand while you take one of your ½” material strips and begin to wind it around the cord.
With your first wrap, place a dab of glue from your glue stick at the tip of the cord with the material wrapping around it.
This will secure the first wrap and you should not need the glue after that. Unless you are wanting to glue two strips together to make your wrapping go faster.
Now continue wrapping the cord leaving ½ of the strip to overlap as you wrap.
When you have wrapped about a 1 ½” length of the cord, take a pin and pin the strip to the cord.
Now you are ready to start coiling the cord. For a round coil, just start rolling the coil up as tightly as you can. (you can also do an oval pattern by folding the first fold about 3” and then start coiling around that)
Use pins to secure the coil and keep it rolled tightly.
Now place the coil in the center under your open toe foot on your sewing machine.
Bring the needle down in the center of the cord so that your stitches will hit from one piece of the cord to the next ring as you sew.
Using a zig zag stitch begin sewing making sure one side of the zig zag hits each side of the cord.
Therefore, the zig zag stitches to the cord and not the crack.
Take a few stitches and then leaving the sewing machine needle in the cord, rotate the cord for your next stitch. (this will hold the coil in place while you adjust for your next stitch)
You will not take the coil out of the sewing machine now until you have completed the entire coil size you want.
Just leave the coil locked in the sewing machine needle and presser foot and continue to wrap the clothesline cord as you need to, to feed into the sewing machine.
You will gradually coil all the cord that is covered with your material strips into the coil and then zig zag stitch it together.
When you get to the size of the coil you want, cut the cord and wrap the material around the end so that no cord is showing and take your last stitches on the sewing machine.
I would back stitch the end to make sure it holds securely,
There you have it…a finished coiled coaster!