
In sewing a hand puppet, you may use any material you would like. Mine is just a suggestion.
Items needed:
Terry cloth or fur fabric
Contrasting fabric
Thread
Scissors
Copy Paper or butcher block paper
Making the pattern:
Take your hand or you may want to use Dad’s hand so he can be in on the fun too.
Put your three fingers together and stick out your thumb and pinky finger.
Trace around your hand on the butcher block paper.
Be sure and take the trace down your wrist too.
Now to that trace add 1 inch to the size of the pattern.
Then take the pattern and place it on your material, pin it, and cut two pieces.
You may want to even out the curves on the hand.
Sewing the puppet:
At the bottom edge of the two pieces fold up 1/2″ and sew across each piece separately.
Now put the right sides together and sew the two sides together leaving the opening at the bottom for your hand.
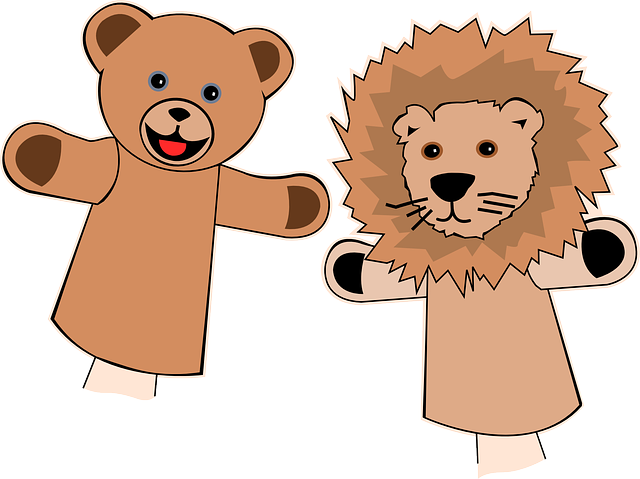
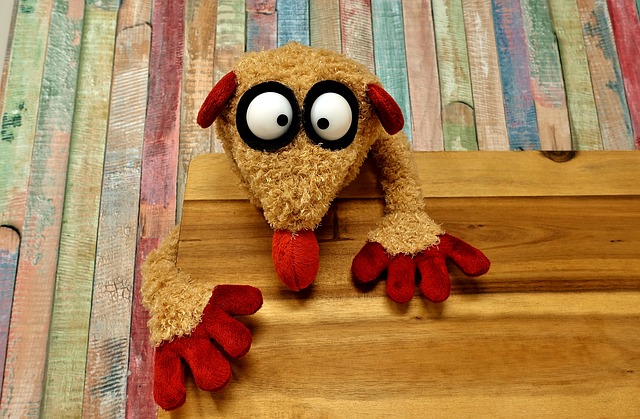
Then turn the puppet right side out. Thus you are ready to decorate the puppet with eyes mouth and nose and maybe whiskers or main depending on what character you would like to make.
Here is the time to use your imagination and create a character that your child can make the sounds of or talk through.
I suggest you hand sew the beak and eyes on or glue them on with a fabric glue that won’t wash off.
You can always use craft eyes too.
Now your puppet is ready to become the part in the next exciting play adventure your child can imagine.
If you have any questions or comments, please fill out our comments form and we will get back with you asap.
Remember any highlighted links are monetized and I may receive compensation if you click on them.